In order to help the leadership at my company produce quality podcasts on a budget, I focused in on what would make the biggest difference to capturing excellent vocals: starting with as clean a signal as possible. I drew on my experience as a video producer for the Palau Association under the tutelage of audio master Doug Steward.
When we would record vocals or voiceover work there, we had the benefit of a full studio and even a completely soundproofed booth where Luis would record his radio shows. While soundproofing your home office is certainly useful, it’s expensive and time-consuming. Our scenario called for our interviewers (who are technically adept but not audio pros) to occasionally set up for a Skype interview with industry thought leaders. We needed a kit that was easy to take down, store, and mail.
DIY $20 Microphone Isolation Box Video
A pro-level microphone isolation shield
Apart from getting a quality microphone (we already had a Blue Yeti USB microphone, which was recently rated one of the very best for this type of work), the next simplest thing we could do was to have some sort of audio isolation barrier around the microphone. I researched many podcast producers and other vocal talent to see what simple solutions I could find. I had worked with acoustic foam panels in my own home office, and figured I could find a cheap way to install them in a box.
There’s lots of great DIY tutorials online; what I ended up building was certainly not original, though I’ve added a few enhancements that I think improve the final product.
Materials
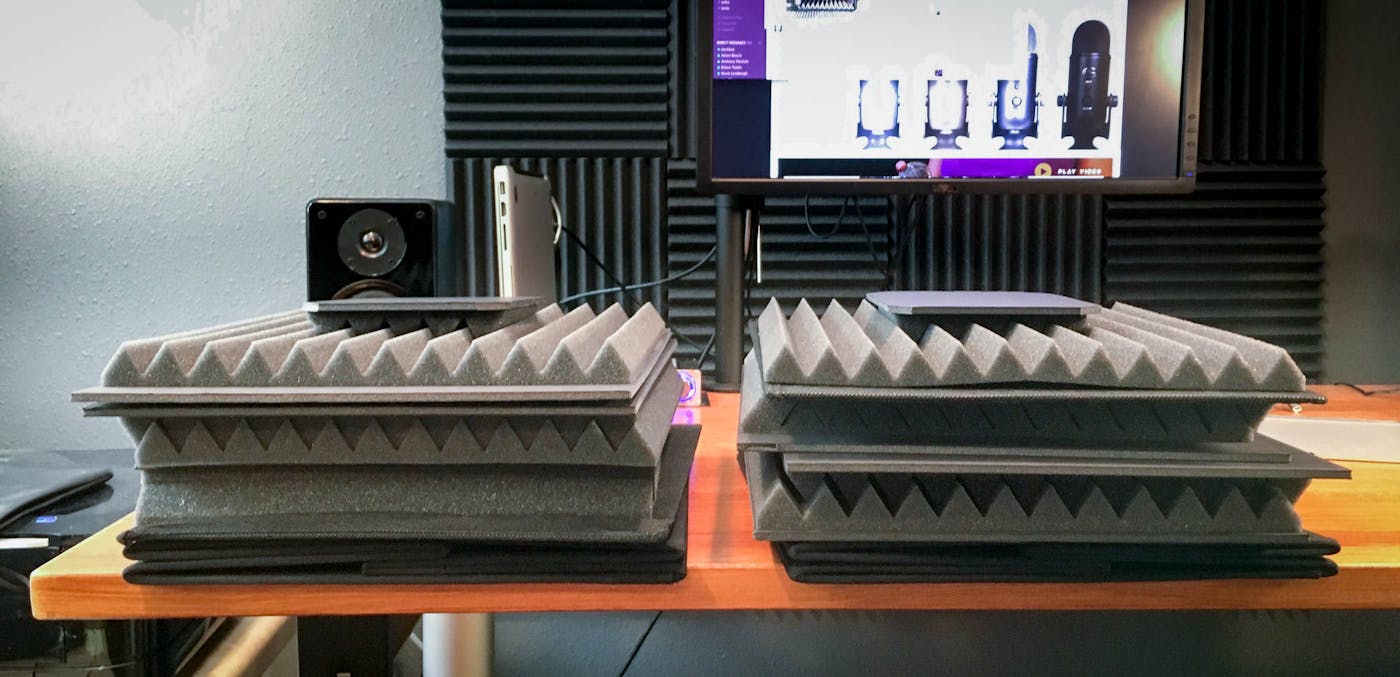
1’ cubic foot collapsible basket. The BH&G version is slightly larger than most you will find online. The acoustic foam panels are about 1’ square, and it’s approximately 12.25” deep x 12.25” wide by 14.25” high. This is perfect for the Blue Yeti which is just over 11.5” high. I found these for just over $5 each at Walmart
2 panels of black foamcore board—$4. Dense cardboard would work also, but the foamcore is extra rigid, Batman-black, and (should) also have additional sound-dampening properties. The foamcore was really the big improvement over the other DIY examples; the foam seemed to just flop around in those examples, and it looks kinda ratty and more fussy.
Acoustic foam panels. I found cheap packs of 12 on Amazon. I’ve bought from a few sellers in the past — this one was delivered the fastest. I did look into super cheap material, like that found on a mattress cover, but found that it wasn’t cheaper, and would require more cutting work (as well as not being dark gray).
3M Super 77 spray glue. This stuff pretty much assembled everything I did in art school, and it’s invaluable to crafters everywhere. It’ll stick your aunt to your uncle (especially if you spray both objects!), so be careful. Spray outside on newspapers, and don’t breathe it or get it near flame.
For trimming, a blade of exact zero and a good long ruler. I added some Velcro strips to secure the back foam panel to the removable bottom panel of the box.
Construction & Assembly
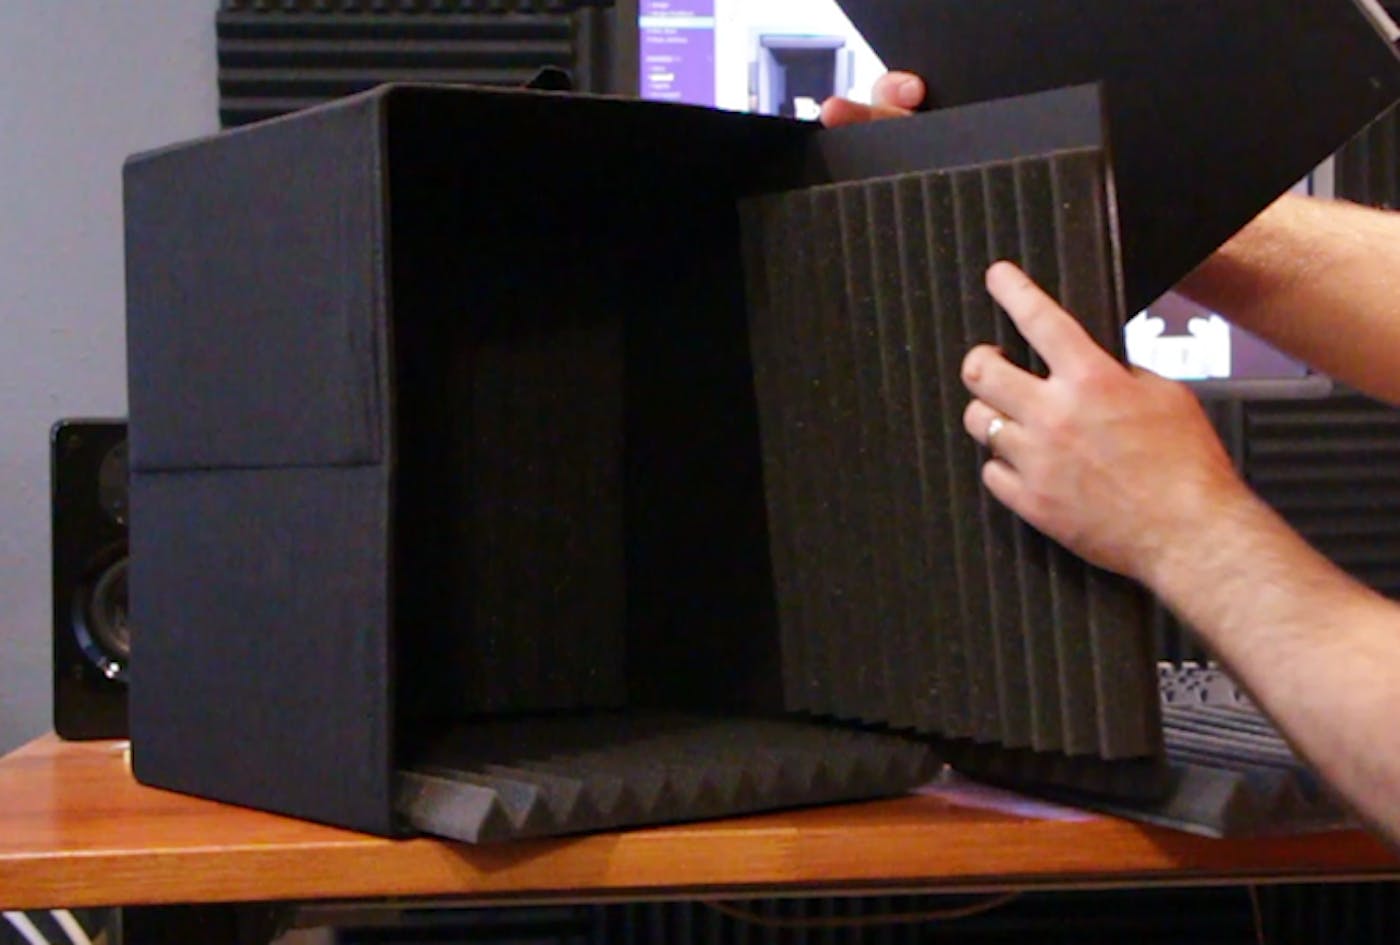
As mentioned above, the interior dimensions of the folding box are 12.25”w x 12.25”d x 14.25”h. This includes a slight offset for the pieces. It’s not perfect, which is okay in this application; they need to slide in & out easily, and air gaps only help the acoustics. I had originally planned on adding velcro tape to the back of each panel, but this was overkill in the end, as everything fits snugly.
The microphone will have 1 or more cables coming out the back; I cut a few threads at the seam and then covered them with some black duct tape to permit a USB or other cable to run out the back. If you can get it, gaffe tape is much superior and will last forever.
Ideally, I would take a few minutes and sew some reinforced edges around the slit, to keep the seam from tearing further.
Here you can see where I added some simple velcro tape to secure the back foam panel to the rear board (which comes with the box, to give the “floor” some rigidity).
At first, I was going to cut a round hole in an acoustic foam panel to let the Blue Yeti mike sit on it; then I realized it would not be isolated from the table below it, picking up vibrations and noise. What would make a solid, but isolated base? I cut a small little piece of foamcore board out and glued a little section of the acoustic foam—it just sits in the grooves of the base piece, and makes a nice solid platform with no bounce.